
TPU Film Thermoforming Without Wrinkles, Webbing or Thin Corners
Draw Ratio, Heat Profile and the Tooling Choices That Decide the Part
TPU film thermoforming problems are decided before the sheet reaches the mould. Draw ratio, heat uniformity and clamping set the outcome, and most wrinkles and thin corners are designed in rather than caused on the machine.
TPU behaves differently from rigid plastics in one important respect: it is elastic at forming temperature, so it stretches and recovers rather than flowing permanently.
This article covers how draw ratio sets the limit, why the heating cycle has to be staged, how tooling affects material distribution, and the corrections that work for each defect.
Draw Ratio Sets the Ceiling
Calculate the draw ratio before designing the tool, not after the first sample fails. It is the relationship between the depth of the part and the smallest width across the cavity, and it predicts how much the film must stretch.
TPU tolerates modest draw ratios well and degrades quickly beyond them. Where the depth exceeds roughly one third of the width, expect corner thinning, and where it approaches half the width, expect webbing between features.
Deep parts are not impossible, but they need a different approach: a plug assist, staged forming, or a thicker starting gauge that thins down to the target. Trying to force a deep draw with heat alone produces a part that looks formed and measures thin.
Multiple cavities complicate the calculation, because the film has to bridge between them. The bridge area stretches first and takes material away from the cavities, which is why a multi-cavity tool needs more spacing than a single-cavity tool of the same depth.
Staging the Heating Cycle
Heat both faces and heat them evenly, then allow the sheet to equalise before forming. A surface that reads correctly on an infrared gauge can still have a cold core, and a cold core is what causes spring-back after demoulding.
TPU has low thermal conductivity, so it heats slowly through the thickness. Rushing the heating stage raises the surface above its safe limit while the middle is still stiff, which produces surface marking and incomplete forming at the same time.
An equalisation dwell after heating is the step most often skipped. It lets the temperature profile flatten across the sheet, and it typically removes more defects than any other single change to the cycle.
- Use zone-controlled heaters so the edges do not run hotter than the centre
- Measure sheet temperature at several points rather than at one location
- Pre-dry hygroscopic film, since moisture flashes into bubbles at forming temperature
- Allow an equalisation dwell so the core reaches the same temperature as the surface
- Keep the heater-to-sheet distance constant, because a small gap change alters the dose
Clamping, Vacuum and Plug Assist
Clamp the sheet before it cools and keep the clamp closed until the part is below its softening range. Early release is a common cause of distortion that gets blamed on the material.
Vacuum alone can struggle with sharp internal corners because the film has to stretch into a tight radius. A plug assist pushes material into the cavity first and improves distribution, at the cost of a contact mark on the inner surface.
Vacuum holes need careful placement. A hole in a visible surface leaves a witness mark, while holes placed only in the base can leave an air pocket at the end of a long draw. Venting through the tool rather than through the part is usually the better solution.
For pressure forming, the higher pressure improves detail but also increases the risk of marking at the clamp line. The choice between vacuum and pressure should follow the surface requirement, not the machine's default setting.
Wrinkles and Webbing: What Causes Each
Wrinkles come from excess material; webbing comes from material being pulled where it is not wanted. They look similar in a photograph and require opposite corrections.
| Defect | Usual cause | Correction |
|---|---|---|
| Wrinkles at the flange | Sheet too large for the clamp frame | Reduce blank size or raise clamp tension |
| Webbing between cavities | Insufficient spacing, uneven heating | Increase pitch, balance the heat profile |
| Thin corners | Draw ratio above the material's limit | Plug assist, thicker gauge, larger radius |
| Surface marks | Overheating or rough tool surface | Lower temperature, polish the cavity |
| Spring-back after demoulding | Cold core, early release | Longer equalisation, longer cooling in tool |
Chasing a wrinkle with more heat is the most common mistake. Heat makes the film softer and more willing to fold, so the wrinkle gets larger. The right response is to remove the excess material or change how it is held.
Cooling and Demoulding
Cool the part in the tool until it is rigid enough to hold shape, then demould without pulling on a corner. TPU stays elastic well below its forming temperature, so a part that feels cool can still deform under its own release force.
Uniform cooling matters as much as uniform heating. A tool with a hot spot on one side produces differential shrinkage, and the part warps in a way that only appears after it has sat overnight.
Trimming is easier while the part is still supported by the tool, and the trim line should avoid the thinned corner region. A cut through a thin corner creates a stress riser that starts a tear in service.
Forming Thick Sheet and Laminates
Thick TPU needs a longer heating cycle and a slower forming stroke, because the core has to reach temperature before the surface is pushed. Rushing thick sheet produces a part that looks formed and relaxes a day later.
A laminate adds a constraint: the carrier or textile layer may reach its own softening point before the TPU is ready. In that case the TPU layer has to be the thinner component, or the forming has to be done with the textile on the outside of the draw.
Bonded constructions can also delaminate during forming if the two layers expand differently. Where that risk exists, pre-forming the TPU and bonding afterwards is sometimes more reliable than forming the finished laminate.
For thick parts, tool temperature control becomes the dominant variable. A cold tool quenches the surface and locks in stress, while an overheated tool prevents the part from setting before demoulding.
Matching the Film to the Forming Process
Not every TPU grade forms equally well. Formability depends on the soft segment, the hardness and the additive package, and a grade chosen only for its final properties may be difficult to draw.
Ask for the grade's forming window in writing, including the temperature range and the maximum recommended draw ratio. Suppliers who form their own film can usually provide both, and that information shortens a trial from weeks to days.
- Calculate the draw ratio from the part drawing before cutting a tool
- Choose a grade with a documented forming window rather than the hardest available
- Run a heating trial on scrap and map the temperature across the sheet
- Form a single cavity first and measure wall thickness at the corners before scaling
- Keep the tool temperature controlled and record it with every production run
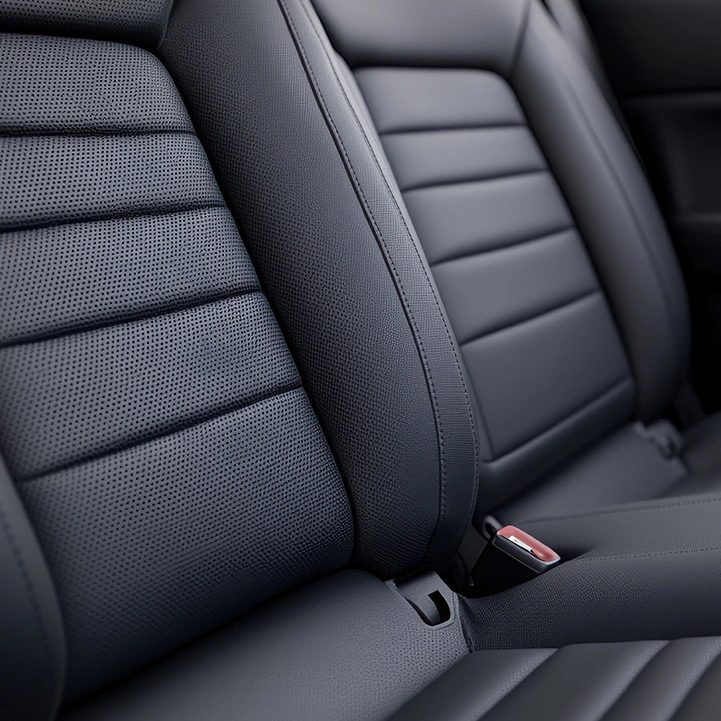
The film used for automotive seating and interior trim is documented on the automotive comfort seat system page, where forming and lamination requirements sit alongside the mechanical specification.
Zhejiang Huanlong New Material Science Technology Co.,Ltd runs blown, extruded and foamed lines across three manufacturing bases, with two R&D centres and more than 30 engineers. Huanlong can supply forming data for its grades, and the production system is covered by ISO 9001:2015, ISO 14001 and ISO 45001.
The short version: check the draw ratio before building the tool, heat through the thickness and let the sheet equalise, use a plug assist for deep draws, and correct wrinkles by removing excess material rather than adding heat.
A thermoforming defect is usually a design decision that only became visible at the machine.
Frequently Asked Questions About TPU Film Thermoforming
What draw ratio can TPU film handle?
Modest draws form reliably, but the exact limit depends on grade and thickness. As a working rule, keep depth below about one third of the cavity width, and use a plug assist where the design requires more.
Why does the formed part spring back?
The core of the sheet was cooler than the surface when the part was released. TPU recovers elastically, so any temperature gradient through the thickness turns into distortion once the clamp opens.
Can TPU be vacuum formed without a plug assist?
Yes for shallow parts with generous radii. Deep cavities and sharp internal corners need the extra material distribution a plug provides, otherwise the corners thin below the design minimum.
Does moisture in the film affect forming?
It does. Absorbed water turns to steam at forming temperature and creates bubbles, haze or surface pits. Pre-drying before forming is standard practice for hygroscopic grades and for film stored in humid conditions.
How thick should the starting film be?
Start from the minimum wall thickness the part needs, then work back through the expected thinning at the corners. In practice that means ordering a gauge noticeably thicker than the finished wall, particularly for deep draws.
Send the part drawing, the required wall thickness and the tool concept, and a forming window can be proposed before a tool is cut. Huanlong can supply TPU film thermoforming grades with the draw ratio and temperature range documented.
See How the Film Is Made Ask About TPU Film Thermoforming